After extensive testing, we noticed more deflection in the print head then acceptable, so we tested a couple revisions. Our current revision is the easiest to implement. We have added 1/8" flat aluminum plate on top of the original SLS Nylon part. By using hybrid manufacturing, we're able to make this simple revision at very low cost and turnaround time and see a sizeable improvement.
All kits shipped from 4/7/2022 will include this
Parts included:
2 * flat aluminum brackets
8 * m3x16 socket head
8 * m3 flat washers
4 * m4x25 button head
Tools needed:
M2.5 hex
Take your time and do one side at a time.
 Picture above (and to the right) is the new bracket sandwiched with the original and new fasteners Picture above (and to the right) is the new bracket sandwiched with the original and new fasteners |  | ||
 The M4 (larger washers) will be reused from the old fasteners but the rest will not be used. Save them for another project. The M4 (larger washers) will be reused from the old fasteners but the rest will not be used. Save them for another project. | 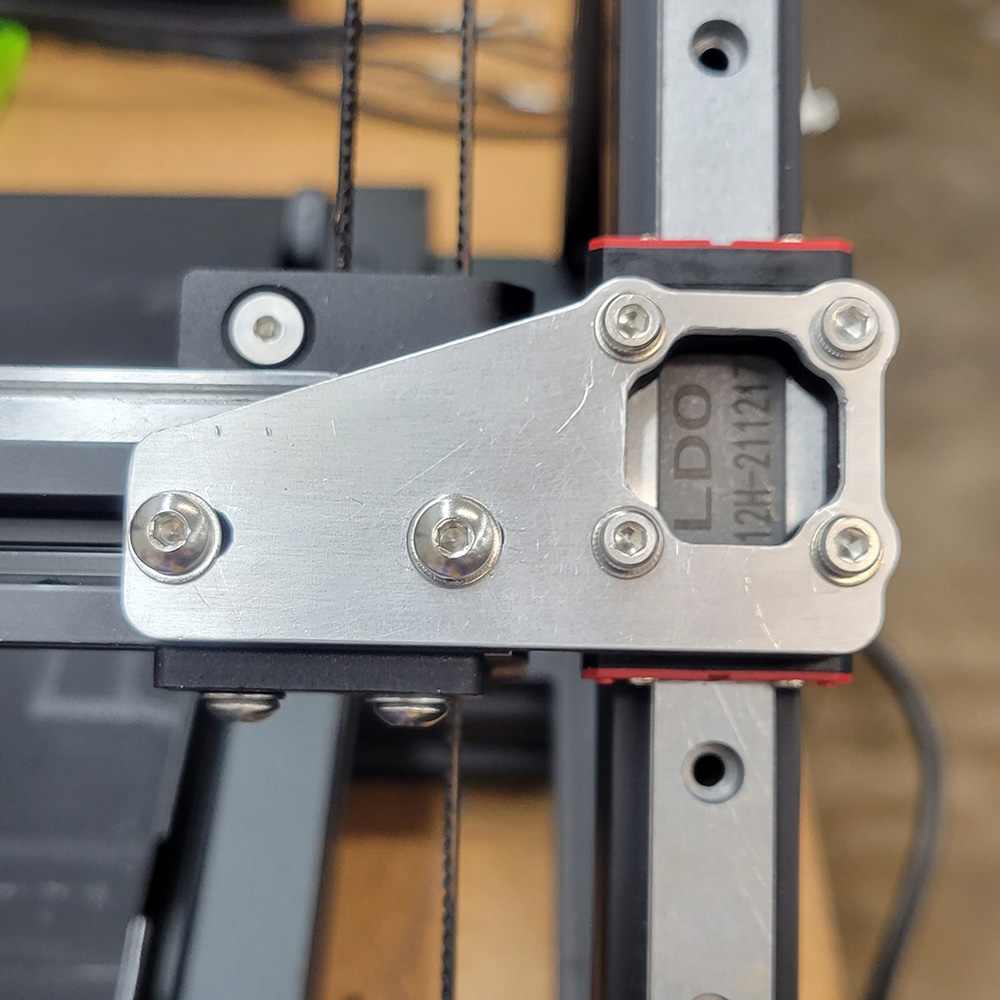
| ||

*note for instructional purposes, some components may look different from retail items.